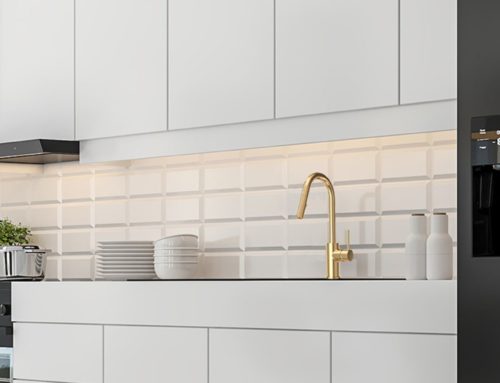
KBIS 2020 was full of fantastic new design ideas to keep you inspired all year! We’ve gone over how easy it is to update your kitchen by replacing your outdated sink with one that will make cooking and cleaning in your kitchen a joy. But – what better time to update your faucet than when you have all your tools together, and you can choose and match your sink WITH your ideal faucet?
Here are step-by-step instructions to help you.
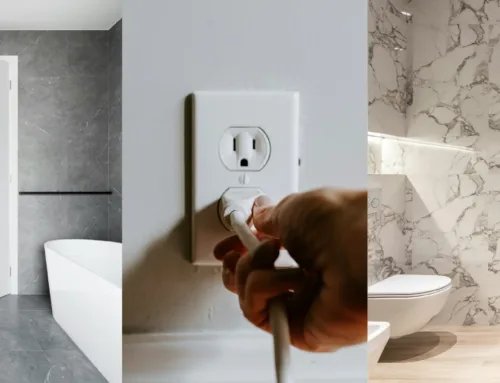
Before you choose your new faucet, look at, and determine how many faucet holes and their configuration on your new or existing sink. This way, you won’t purchase a 3 or 4 hole faucet when the basin only has 1 installation hole. If your basin has 3 or 4 installation holes, you can still choose a 1 hole faucet, but you’ll want to make sure to purchase a deck plate to cover the remaining holes for a streamlined, professional-looking install.
You’ve found your perfect faucet, so let’s get started!
First, let’s gather our supplies. (If you are replacing your sink, you may already have most of these ready to go.)
- New faucet
- Supply lines
- Silicone caulk
- Plumber’s tape
- Adjustable wrenches
- Basin wrench
- Small bucket
- Putty knife
If you will be replacing just your faucet
Removing your old faucet
· Turn off the hot and cold water at the shut-off valve under your basin, then turn on your faucet to drain any remaining water and release pressure. If you have a disposal, make sure to unplug that as well.
- After disconnecting the hot and cold water supply lines with an adjustable wrench, using a basin wrench, remove the nut holding the faucet tailpiece assembly in place, and remove the faucet. (It may be helpful to have someone hold the faucet in place from above while you loosen and remove the nut.)
- Clean the area to prepare the surface for installation.
Installing your NEW faucet
- For 1-hole Installation: Ensure there is a washer under the faucet and place faucet in position.
- For 3-hole Installation: Place the rubber/plastic gasket or trim ring over the faucet holes in the sink. Set the deck plate using plumber’s putty if the manufacturer’s instructions recommend it.
- Feed faucet lines into the hole(s).
- Thread and tighten mounting nuts from beneath your sink and wipe away any excess plumber’s putty, if used.
- For pull-down faucets, you will want to add a weight that will retract your pull-down sprayer. (Make sure there is enough space beneath your sink to allow the weight to move freely.)
- Attach water supply lines, using plumber’s tape if necessary, first to your faucet, then to the shut-off valves. Connect hot water on the left and cold on the right.
- Turn on the water, and check for leaks. Tighten water supply connections if necessary.
DONE!
Congratulations, now you can enjoy your updated look!
Suppose you are replacing your faucet in conjunction with your kitchen basin. In that case, it can be an even smoother experience since you can install the faucet onto your new sink basin before sink-to-counter placement. Doing so will allow for easier access to areas usually hidden in the cabinet under your sink, which is typically dark and hard to reach. Check out how simple replacing your sink is with our step-by-step instructions here!
Tips:
- Snap a picture of the plumbing configuration before disconnecting to use as a reference later.
- Use a small bucket under the connections to catch water as you disconnect supply lines.
Product Spotlight: 2MT270
Single Handle Pull-Down Pre-Rinse Kitchen Faucet
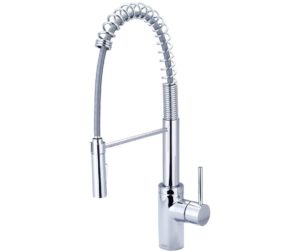
Available in: Polished Chrome – Brushed Nickel – Matte Black
Featuring clean lines and superb craftsmanship, the Motegi Collection is a minimalist’s dream designed with sleek, luxurious lines and quality craftsmanship to inspire architectural masterpieces. The simple flowing design makes cleaning these faucets effortless, and the dramatic geometry of the Motegi Collection brings sophistication and sculptural art to any room.
- Single Handle Pull-Down Kitchen Faucet
- Metal Lever Handle
- Pull-Down Head with 2 Spray Patterns Swivel 360°
- 9″ Reach, 7″ from Deck to Aerator
- 22-3/4″ Overall Height
- Ceramic Disc Cartridge with Temperature Limit Stop
- 1-Hole Installation
- Optional 3-Hole 8″ Deck Plate Available
- Easy-Install 30″ Flex Supply Lines With 3/8″ Connections
- With 1.8 GPM Flow Rate
- Quick Connect Spray Head Hose and Weight, Easy-install mounting nut
CERTIFICATIONS
- ADA Compliant
- Lead Free
- IAPMO Listed
- CUPC Listed
- Cal Green
- NSF Certified